Leveling the ground for a shed is an important step in ensuring that your shed is sturdy and long-lasting. A level foundation provides a solid base for the shed to rest on, preventing it from shifting or settling over time. Before you begin building your shed, it’s essential to take the time to level the ground properly.
Choosing the right location for your shed is the first step in preparing the site. Look for a spot that is relatively level and well-drained, away from any low-lying areas that could collect water.
Once you’ve found the perfect location, it’s time to prepare the site by removing any debris, rocks, or plants that could interfere with the leveling process. With the site cleared, you can begin leveling the ground, ensuring that the foundation will be stable and secure.
Key Takeaways
- Choosing the right location is crucial for a stable foundation.
- Preparing the site by clearing debris is essential before leveling the ground.
- Properly leveling the ground ensures a sturdy and long-lasting shed foundation.
Choosing the Right Location
Choosing the right location for your shed is crucial for ensuring a level and sturdy foundation. Here are some factors to consider when selecting the ideal spot for your shed:
Shed Location
The first step in leveling ground for your new shed is choosing an appropriate location. Consider the size of your desired shed and its accessibility.
You’ll want to choose a location that is close to your driveway or paths, but not so close that it becomes an obstruction.
Sun Exposure
It’s important to consider the sun exposure when selecting a spot for your shed. If you plan to use your shed for gardening or as a workspace, you may want to choose a location that receives ample sunlight.
On the other hand, if you plan to use your shed for storage, a shaded location may be more appropriate to prevent items from overheating.
Aesthetics
If you’re concerned about the appearance of your shed, you’ll want to select a location that blends well with your landscape. You may want to choose a location that is not too visible from the street or your neighbors’ properties.
Trees
If you have trees on your property, you’ll need to consider their proximity to your shed location. Falling branches and debris can damage your shed, so it’s important to choose a location that is far enough away from trees.
Zoning Requirements
Before you start building your shed, make sure to check your local zoning requirements. Some townships have specific regulations regarding the size and location of sheds on residential properties.
In summary, choosing the right location for your shed is crucial for ensuring a level and sturdy foundation. Consider factors such as shed location, sun exposure, aesthetics, trees, and zoning requirements when selecting the ideal spot for your shed.
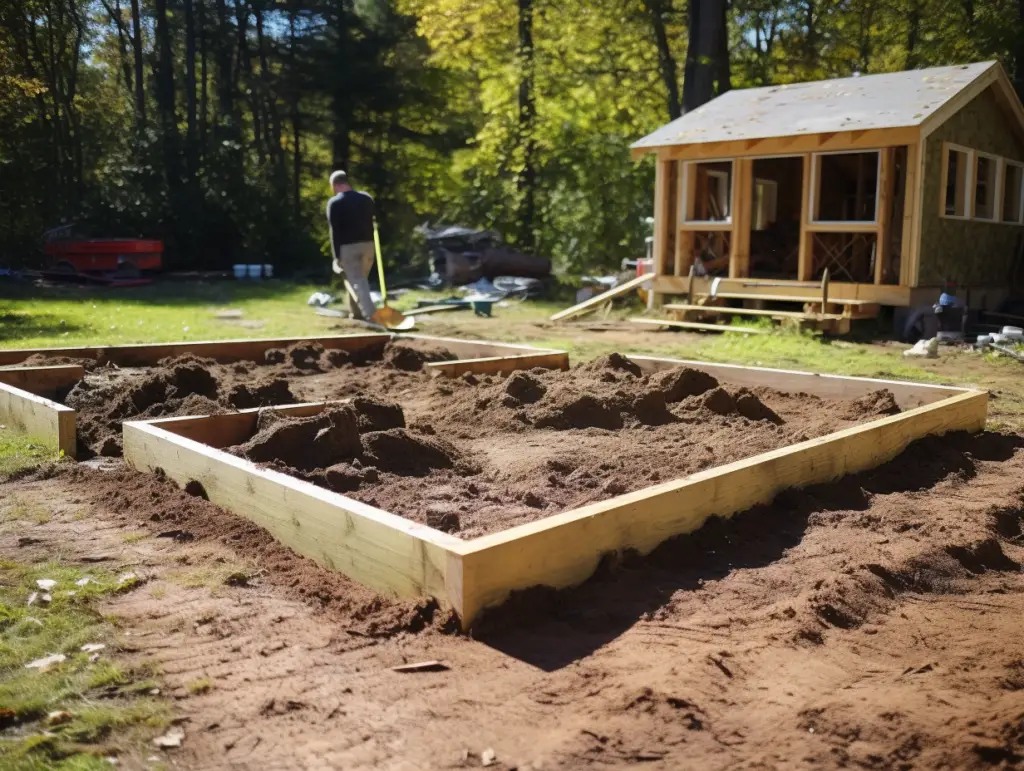
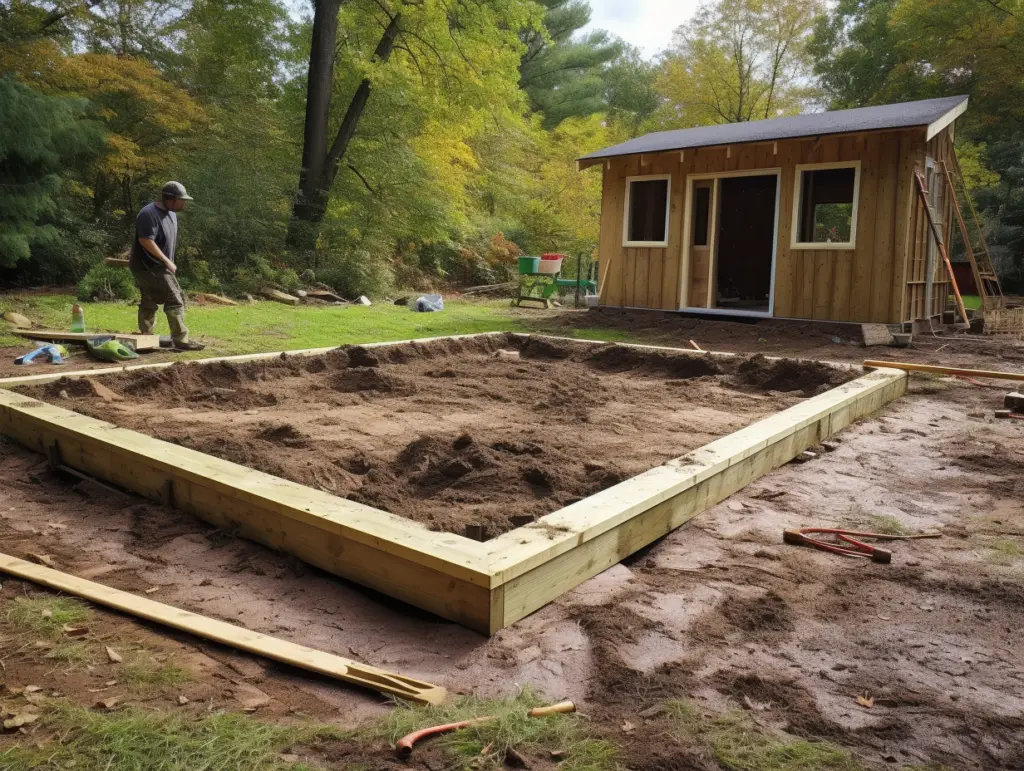
Preparing the Site
Before you start building your shed, it’s important to properly prepare the site. This involves removing topsoil, marking the perimeter, and excavating the area to ensure a level foundation. Here’s how to prepare the site for your shed:
Removing Topsoil
The first step in preparing the site is to remove the top layer of soil. This layer is usually made up of organic matter and can prevent your shed from sitting level. Use a shovel to remove the topsoil and set it aside for later use in landscaping or gardening.
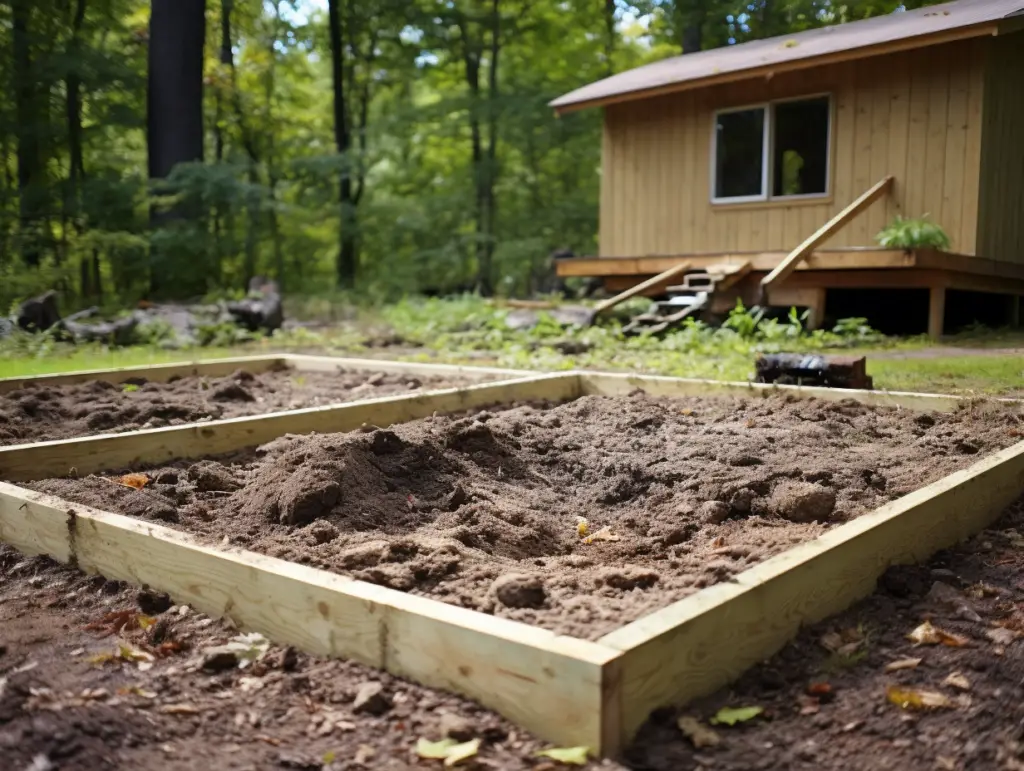
Marking the Perimeter
Next, you’ll need to mark the perimeter of your shed. Use a measuring tape and string to create a square or rectangle that matches the dimensions of your shed. Make sure the corners are square by using a carpenter’s square or 3-4-5 triangle method.
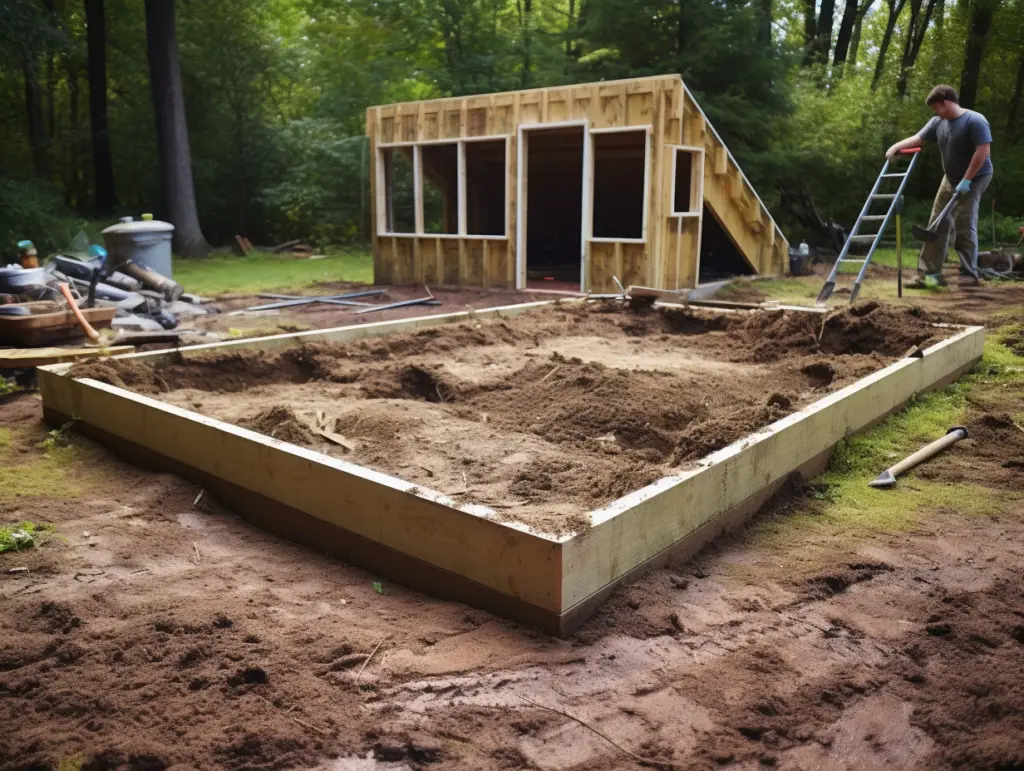
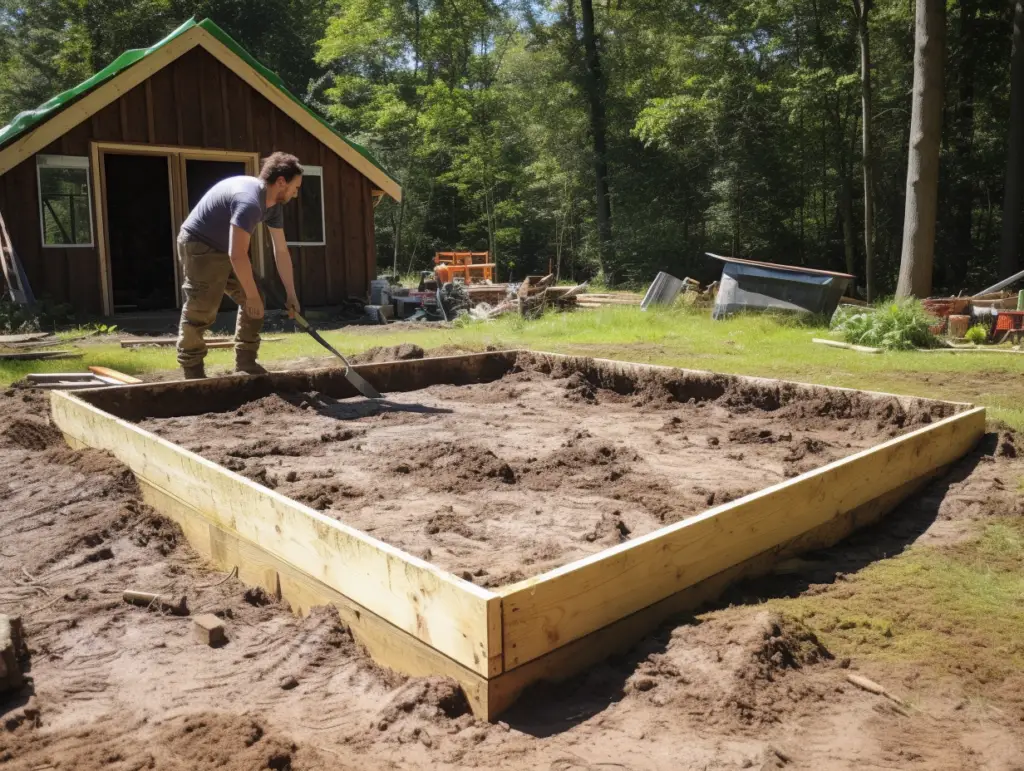
Excavating the Area
Once you’ve marked the perimeter, it’s time to excavate the area. Use a shovel to remove the soil within the perimeter, making sure to dig down to the desired depth. Check the depth using a spirit level and adjust as necessary. Be sure to remove any rocks or debris that may prevent the shed from sitting level.
It’s important to excavate the area to the correct depth to ensure a stable foundation. The depth will depend on the type of shed you’re building and the soil conditions in your area. Check with your local building codes or consult with a professional if you’re unsure.
By properly preparing the site for your shed, you’ll ensure a level foundation that will last for years to come.
Leveling the Ground
Before installing a shed, it is important to level the ground to ensure that the shed is stable and secure. Here are some methods to level the ground:
Using a String and Spirit Level
One of the easiest and most cost-effective ways to level the ground for a shed is to use a string and spirit level. This method requires a few simple tools:
- String
- Wooden stakes
- Spirit level
- Rake
First, mark out the area where the shed will be installed using wooden stakes and string. Next, use a spirit level to check the ground’s levelness. Adjust the string height on the stakes until the string is level. Then, use a rake to remove any high spots and fill in any low spots until the ground is level with the string.
Utilizing a Laser Level
Another way to level the ground for a shed is to use a laser level. This method is more accurate than using a string and spirit level but requires more expensive equipment. A laser level projects a level line across the ground, making it easy to see any high or low spots.
To use a laser level, first, set up the level on a tripod and turn it on. Then, adjust the height of the level until the laser beam is level. Walk around the area where the shed will be installed, and note any high or low spots. Use a rake to remove any high spots and fill in any low spots until the ground is level.
It is important to note that leveling the ground for a shed may require more than just removing high spots and filling in low spots. In some cases, it may be necessary to add gravel or sand to create a stable base for the shed.
In summary, leveling the ground for a shed is an essential step in ensuring the shed’s stability and longevity. Using a string and spirit level or a laser level are two effective methods to achieve a level surface. It is important to take the time to level the ground properly to avoid any potential problems in the future.
Building the Foundation
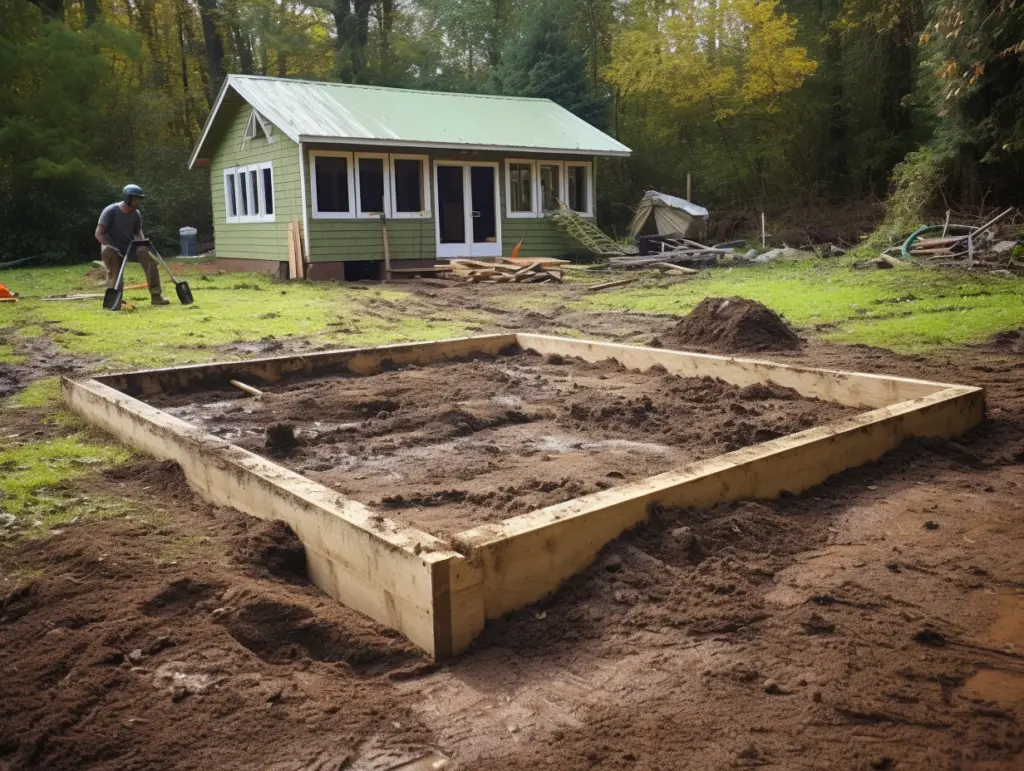
When it comes to building a shed foundation, there are a few different options to consider. Two popular choices are creating a gravel base or setting up concrete blocks. Both methods can provide a level base for your shed and help protect it from moisture.
Creating a Gravel Base
A gravel base is a simple and cost-effective option for building a shed foundation. Here are the steps to create a gravel base:
- Start by measuring and marking out the area where you want to build your shed. Make sure the area is level and square.
- Dig out the area to a depth of about 4-6 inches. This will allow room for a layer of crushed stone and pea gravel.
- Fill the bottom of the hole with a layer of crushed stone. This will help with drainage and prevent the base from shifting.
- Add a layer of pea gravel on top of the crushed stone. This will provide a level and stable base for your shed.
- Use a tamper to compact the gravel and ensure that it is level.
Setting Up Concrete Blocks
Another option for building a shed foundation is to use concrete blocks. Here are the steps to set up concrete blocks:
- Start by measuring and marking out the area where you want to build your shed. Make sure the area is level and square.
- Dig out the area to a depth of about 4-6 inches. This will allow room for a layer of crushed stone and pea gravel.
- Add a layer of crushed stone to the bottom of the hole. This will help with drainage and prevent the base from shifting.
- Place concrete blocks around the perimeter of the area, making sure they are level and square. You can use a string line and a spirit level to ensure that the blocks are in the right position.
- Once the perimeter blocks are in place, add additional blocks to create a level base for your shed. Make sure the blocks are level and secure.
No matter which method you choose, it is important to ensure that your shed foundation is level and stable. A level base will help prevent your shed from shifting or settling over time, which can lead to costly repairs.
Ensuring Proper Drainage
When leveling the ground for a shed, it’s crucial to ensure proper drainage to prevent water from pooling around the shed, which can lead to structural damage and rot. Here are some tips to ensure proper drainage:
Slope the Ground Away from the Shed
One of the most important things you can do to ensure proper drainage is to slope the ground away from the shed. This means that the ground should be higher on the side opposite the shed and gradually slope downward towards the shed. A good rule of thumb is to have a slope of at least 2% or ¼ inch per foot. This will help to ensure that water flows away from the shed and doesn’t pool around the foundation.
Install a Retaining Wall
If the ground is sloping towards the shed, you may need to install a retaining wall to prevent soil erosion and keep the ground level. A retaining wall can be made of various materials, such as wood, concrete, or stone. It’s important to ensure that the retaining wall is strong enough to hold back the soil and that it’s installed properly.
Create a Swale
A swale is a shallow ditch or depression that’s designed to channel water away from the shed. It’s important to ensure that the swale is sloped away from the shed and that it’s deep enough to handle the amount of water that may flow through it. You can line the swale with rocks or gravel to help prevent erosion.
Use Gravel or Perforated Pipe
Another way to ensure proper drainage is to use gravel or perforated pipe around the shed foundation. This will help to channel water away from the shed and prevent it from pooling around the foundation. You can also use a drainage mat or a layer of gravel under the shed to help with drainage.
By following these tips, you can ensure proper drainage when leveling the ground for your shed. This will help to prevent water damage and extend the life of your shed.
Installing the Shed
Once the ground is level and the shed base is in place, it’s time to install the shed. This process may vary depending on the type of shed you are installing, but the general steps are as follows:
- Begin by laying out the floor of the shed. Make sure all the pieces are properly aligned and secured together according to the manufacturer’s instructions.
- Once the floor is in place, start attaching the walls of the shed to the floor. Use a hand tamper or hammer to ensure the walls are securely fastened to the floor.
- Next, attach the roof to the top of the walls. Make sure it is properly aligned and securely fastened according to the manufacturer’s instructions.
- Finally, install any additional features or accessories that come with the shed, such as windows, doors, or shelves.
It’s important to follow the manufacturer’s instructions carefully during the installation process to ensure the shed is properly assembled and secure. If you have any questions or concerns during the installation process, don’t hesitate to contact the manufacturer or a professional for assistance.
Overall, installing a storage shed can be a straightforward process as long as you take the time to properly level the ground and prepare the shed base. With a little patience and attention to detail, you can have a functional and durable shed that will provide you with years of use and enjoyment.
Additional Considerations
When leveling ground for a shed, there are a few additional considerations that homeowners should keep in mind. These include checking for utility lines and complying with building codes.
Checking for Utility Lines
Before beginning any excavation work, it is important to check for utility lines. This can be done by contacting the local utility company and having them mark the location of any underground lines. This will help to prevent accidental damage to gas, water, or electrical lines, which can be both dangerous and expensive to repair.
Complying with Building Codes
When building a shed, it is important to comply with local building codes. Building codes are in place to ensure that structures are safe and structurally sound. Homeowners should check with their local building department to determine what permits and inspections are required before beginning construction. Failure to comply with building codes can result in fines and may even require the removal of the shed.
It is also important to ensure that the shed is built a safe distance away from property lines and other structures. This will help to prevent disputes with neighbors and ensure that the shed is not in violation of any local zoning laws.
Investing in the time and effort to properly level the ground for a shed can help to ensure that the structure is safe, stable, and long-lasting. By checking for utility lines and complying with building codes, homeowners can avoid costly mistakes and ensure that their shed is a valuable investment for years to come.
Maintaining Your Shed
Properly leveling the ground for your shed is just the first step in ensuring its longevity. Once your shed is in place, it’s important to take a few additional steps to maintain it and prevent any potential damage.
Moisture Control
One of the biggest threats to your shed is moisture. Over time, exposure to moisture can cause wood to rot, metal to rust, and mold and mildew to grow. To prevent this, it’s important to take steps to control moisture in and around your shed.
- Install gutters and downspouts to direct water away from the shed.
- Ensure that the ground around the shed slopes away from the foundation to prevent standing water.
- Consider installing a vapor barrier or insulation to prevent moisture from seeping up through the floor.
- Use a dehumidifier or ventilation system to keep the air inside the shed dry.
Standing Water
Standing water around your shed can cause damage to the foundation and attract pests. To prevent this, it’s important to take steps to ensure proper drainage.
- Install a French drain or other drainage system to direct water away from the shed.
- Ensure that the ground around the shed slopes away from the foundation to prevent standing water.
- Consider using gravel or other permeable materials around the shed to allow water to drain away.
Weed Barrier
Weeds and other vegetation can cause damage to the foundation of your shed and attract pests. To prevent this, it’s important to install a weed barrier.
- Lay down a layer of landscape fabric or other weed barrier material around the shed.
- Cover the weed barrier with a layer of gravel or other permeable material to prevent weeds from growing.
By taking these steps to maintain your shed, you can ensure that it will last for years to come.
Conclusion
Leveling the ground for a shed is an essential step in building a strong and durable foundation. By following the steps outlined in this guide, you can ensure that your shed is level and secure.
First, gather all the necessary materials and tools, including a spirit level, measuring tape, ground tamper, and string. Then, mark out the area where you want to build your shed and remove any debris or vegetation.
Next, use a shovel and rake to level the ground as much as possible. For larger areas, consider renting a plate compactor to ensure a more even surface. Once the ground is level, use a spirit level and string to check for any high or low spots.
Finally, add a layer of crushed stone or gravel to the area where you will be building your shed. This will help to provide a stable base for your shed and prevent it from sinking into the ground over time.
Remember, a level foundation is essential for the long-term stability and durability of your shed. By taking the time to properly level the ground, you can ensure that your shed will stand the test of time and provide a safe and secure storage space for years to come.
Frequently Asked Questions
What is the best way to level ground for a shed?
The best way to level ground for a shed is to use a combination of tools and materials. First, you should remove any grass, rocks, or debris from the area where you want to place the shed. Then, you can use a shovel to dig out any high spots and fill in any low spots with soil. After that, you can use a tamper to compact the soil and create a level surface. Finally, you can use a spirit level to ensure that the ground is level in all directions.
How do you level a sloping ground for a shed?
If the ground where you want to place your shed is sloping, you can level it by digging out the high side and filling in the low side with soil. If the slope is too steep, you may need to build a retaining wall to hold the soil in place. Another option is to use concrete blocks or piers to create a level base for your shed.
How to build a shed base on unlevel ground?
To build a shed base on unlevel ground, you can use concrete blocks or piers to create a level surface. First, you should mark out the area where you want to place the shed and remove any grass or debris. Then, you can use a spirit level to determine the high and low spots and place the blocks or piers accordingly. After that, you can place pressure-treated wood on top of the blocks or piers to create a level base for your shed.
How much does it cost to level the ground for a shed?
The cost of leveling the ground for a shed depends on the size of the area and the amount of work that needs to be done. If you need to hire a professional to do the work, it can cost anywhere from a few hundred to several thousand dollars. If you do the work yourself, the cost will depend on the tools and materials that you need.
What tools are needed to level ground for a shed?
To level ground for a shed, you will need a variety of tools, including a shovel, rake, spirit level, measuring tape, ground tamper, pencil, and string. You may also need a hammer, screws, and a drill if you are building a shed base from wood.
Can you level ground for a shed without heavy machinery?
Yes, you can level ground for a shed without heavy machinery. While heavy machinery can make the job easier and faster, it is not necessary. With the right tools and materials, you can level the ground by hand.


Leave a Reply