Dismantling a shed may seem like a daunting task, but with proper planning and preparation, it can be a straightforward process. Whether you’re selling an old shed, moving house, or just looking to make way for a new one, dismantling your shed is a great way to get rid of it.
In this article, we will provide a step-by-step guide on how to dismantle a shed safely and efficiently.
In the following sections, we will provide a detailed guide on how to dismantle a shed, covering everything from safety measures to recycling and repurposing materials. By following these steps, you can dismantle your shed with confidence and ease.

Planning and Preparations
Before dismantling your shed, it’s important to plan and prepare properly to ensure a safe and successful project. Here are some steps to take before starting the dismantling process:
1. Obtain permits (if necessary)
Depending on where you live, you may need to obtain permits before dismantling your shed. Check with your local government to see if any permits are required and obtain them before starting the project.
2. Gather the right tools
Having the right tools is crucial for a safe and efficient shed dismantling. Some of the essential tools you’ll need include:
- Screwdrivers
- Hammers
- Crowbars
- Pliers
- Saws
- Protective gloves
- Safety glasses
3. Choose a safe location
Choose a safe location to dismantle your shed. Make sure the area is clear of any hazards and is large enough to accommodate the shed’s pieces as they are removed.
4. Clear out the shed
Before dismantling your shed, clear out all the items inside. This will make it easier to work and prevent any damage to your belongings.
5. Inspect the shed for hazards
Inspect the shed for any potential hazards such as rot, mold, or insect infestations. Take necessary precautions to protect yourself from these hazards.
By taking these steps, you can ensure that your shed dismantling project goes smoothly and safely.
Safety Measures
When it comes to dismantling a shed, safety should be your top priority. The process can be dangerous, and you need to take precautions to avoid injury. Here are some safety measures to consider:
Personal Protective Equipment (PPE)
Wearing PPE is essential when dismantling a shed. It will protect you from potential hazards such as falling debris, sharp objects, and harmful chemicals. The following are some PPE you should consider wearing:
- Eye Protection: When dismantling a shed, debris can fly into your eyes and cause injuries. Wear safety goggles or glasses to protect your eyes from flying debris.
- Dust Mask: You may be exposed to dust and debris that can harm your respiratory system. A dust mask will protect you from inhaling harmful particles.
Proper Tools
Using the right tools for the job can make the dismantling process much easier and safer. Make sure you have the following tools:
- Hammer
- Screwdrivers
- Wrenches
- Pliers
- Crowbar
Secure the Shed
Before you start dismantling the shed, make sure it’s secure. You don’t want it to collapse on you while you’re working on it. Check the foundation and make sure it’s stable. If the shed is on soft ground, consider adding supports to prevent it from sinking.
Work with a Partner
Dismantling a shed can be a challenging task, and it’s always best to have a partner to help you. Your partner can assist you with holding parts in place, handing you tools, and providing an extra set of eyes to ensure safety.
By following these safety measures, you can ensure that the dismantling process of your shed goes smoothly and without incident. Remember to wear the right PPE, use proper tools, secure the shed, and work with a partner. With these measures in place, you can complete the task safely and efficiently.
Identifying and Handling Hazardous Materials

When dismantling a shed, it is important to identify and handle hazardous materials properly to prevent harm to people, property, and the environment.
Some common hazardous materials found in sheds include asbestos, lead paint, mold, and other hazardous substances. Here are some steps to identify and handle hazardous materials safely:
1. Conduct a Hazard Assessment
Before starting the dismantling process, conduct a hazard assessment to identify any hazardous materials that may be present in the shed. This can be done by reviewing building plans, inspecting the shed, and testing materials for hazardous substances.
2. Label and Store Hazardous Materials Properly
All hazardous materials should be labeled and stored properly to prevent accidental exposure. Ensure that all hazardous materials are properly sealed and stored in a secure location away from other materials.
3. Use Personal Protective Equipment (PPE)
When handling hazardous materials, it is important to use appropriate PPE to protect yourself from exposure. This may include gloves, respirators, and protective clothing.
4. Follow Proper Disposal Procedures
Hazardous materials should be disposed of properly to prevent harm to the environment. Follow all local, state, and federal regulations for the disposal of hazardous materials.
5. Hire a Professional for Hazardous Materials Removal
If you are unsure about how to handle hazardous materials safely, it is best to hire a professional for removal. This can ensure that hazardous materials are handled and disposed of properly, reducing the risk of harm to yourself and others.
By following these steps, you can identify and handle hazardous materials safely when dismantling a shed. Remember to always take precautions to protect yourself and the environment from harm.
Dismantling the Shed
Taking apart a shed may seem like a daunting task, but with the right tools and techniques, it can be a straightforward process. Here are the steps to follow to dismantle a shed.
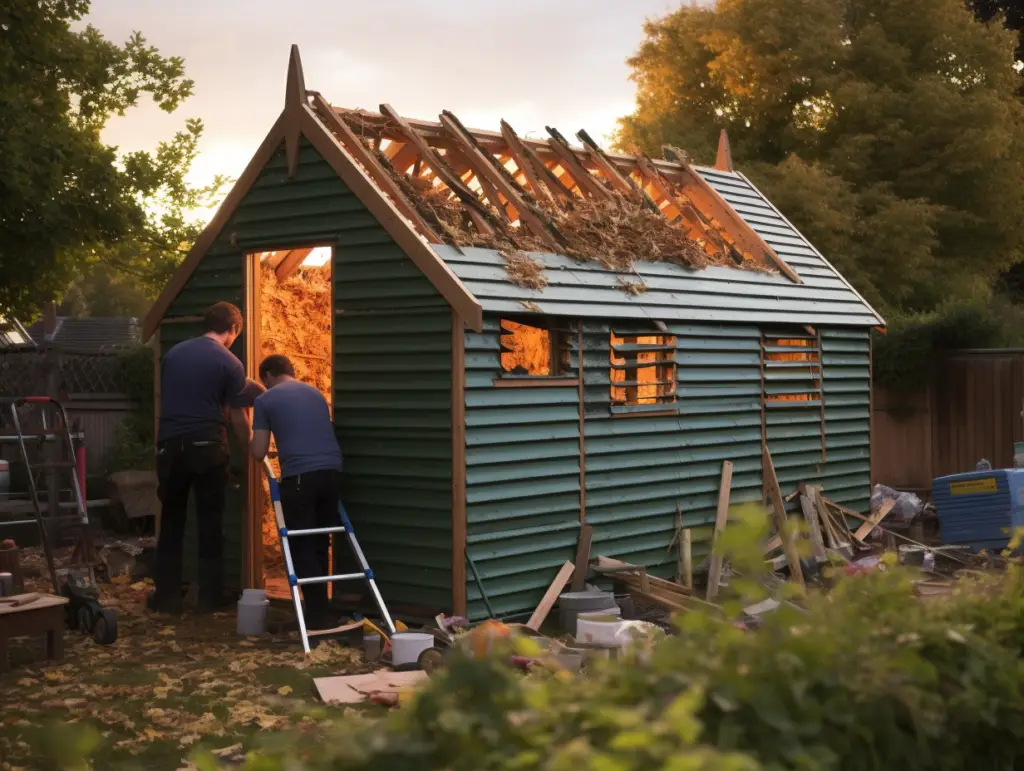
Removing the Doors and Windows
The first step is to remove the doors and windows. Start by unscrewing any screws or bolts that hold them in place. If the doors or windows are nailed in, use a hammer and pry bar to carefully remove them. Be sure to label each door and window so you can identify them later when it’s time to reassemble the shed.
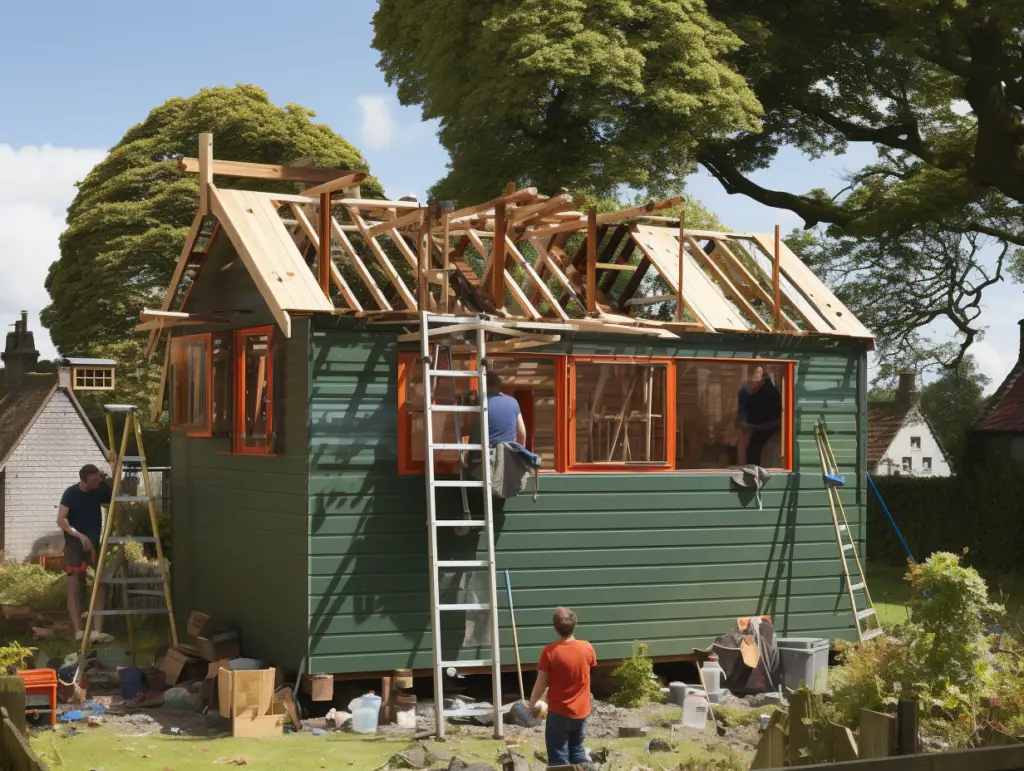
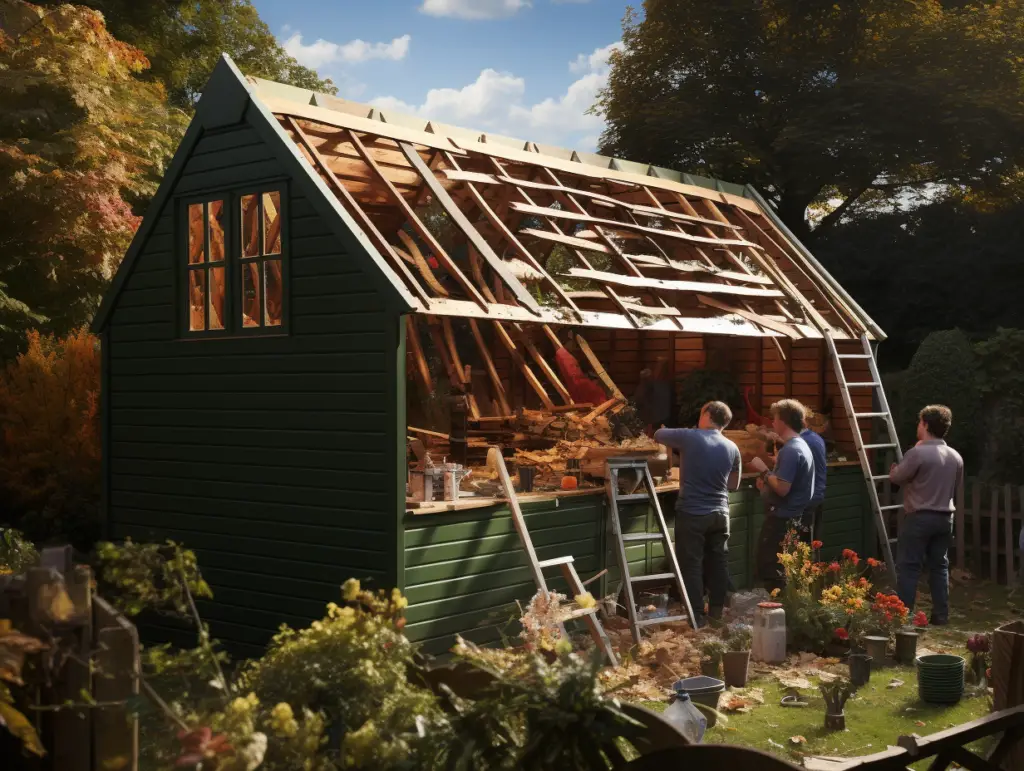
Taking Down the Roof
Once the doors and windows are removed, it’s time to take down the roof. Start by removing any roofing material, such as shingles or metal sheets. Then, unscrew or unbolt any beams or supports that hold the roof in place. Use a crowbar or pry bar to carefully remove any stubborn nails or screws.
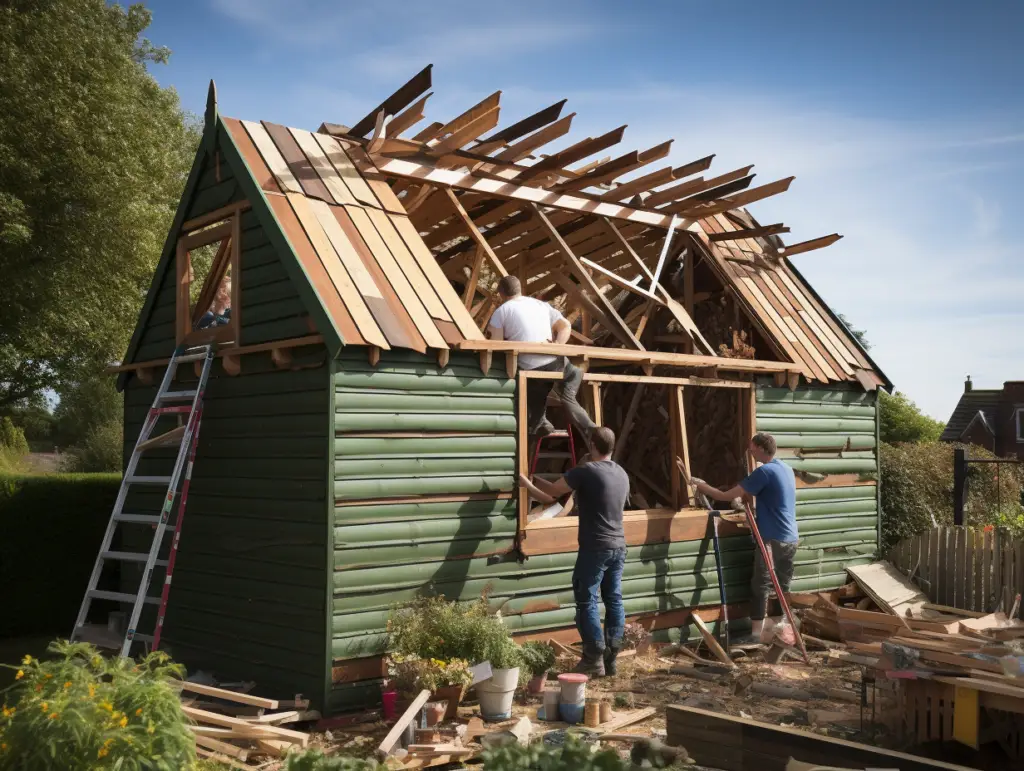
Removing the Walls and Frames
After the roof is removed, it’s time to take down the walls and frames. Start by unscrewing or unbolt any beams or supports that hold the walls in place. Use a crowbar or pry bar to carefully remove any stubborn nails or screws. If the walls are nailed in, use a hammer to carefully remove them. Be sure to label each wall and frame so you can identify them later.
Taking Out the Floor
Finally, it’s time to take out the floor. Start by removing any flooring material, such as plywood or carpet. Then, unscrew or unbolt any beams or supports that hold the floor in place. Use a crowbar or pry bar to carefully remove any stubborn nails or screws. Once the floor is removed, the shed is fully dismantled.
In order to dismantle a shed, you will need a few tools, including a hammer, screwdriver, pry bar, crowbar, drill, and possibly a saw.
Be sure to wear protective gear, such as gloves and eye protection, when using these tools. Finally, be sure to dispose of any materials in an environmentally responsible manner.
By following these steps, you can easily dismantle a shed and prepare it for transport or disposal.
Dealing with Fixtures and Fittings
When dismantling a shed, it is important to deal with fixtures and fittings properly to ensure a smooth and safe process. Fixtures and fittings include any hardware, screws, nails, or bolts that hold the shed together. Here are some steps to follow:
- Remove all screws, bolts, and nails: Before dismantling the shed, it is important to remove all screws, bolts, and nails that hold the shed together. Use a screwdriver, pliers, or a hammer to remove them. Make sure to keep them in a safe place so that you can easily find them when you need to reassemble the shed.
- Label and organize: As you remove fixtures and fittings, label them and organize them in separate containers. This will make it easier to find them when you need to reassemble the shed. You can use plastic bags, containers, or boxes to store the fixtures and fittings.
- Don’t pull at any wood: When removing fixtures and fittings, be careful not to pull at any wood. This can damage the wood and make it difficult to reassemble the shed. Instead, use a pry bar or a crowbar to gently remove the fixtures and fittings.
- Remove any roof coverings: If your shed has a roof covering, such as felt or shingles, remove it carefully. Use a knife or scissors to cut the covering into manageable pieces. Be careful not to damage the roof structure or the shed walls.
By following these steps, you can safely and efficiently dismantle your shed without damaging any of the fixtures and fittings. Remember to label and organize all fixtures and fittings to make it easier to reassemble the shed.
Handling and Disposing of Debris
Once you have dismantled your shed, you will be left with a pile of debris that needs to be disposed of properly. Here are some steps you can take to handle and dispose of the debris:
- Sort the Debris: Before disposing of the debris, you should sort it into different piles. This will help you dispose of the debris in an organized manner. You can sort the debris into piles of wood, metal, plastic, and other materials.
- Rent a Dumpster: If you have a lot of debris to dispose of, you may want to consider renting a dumpster. A dumpster will provide you with a convenient and efficient way to dispose of the debris. You can rent a dumpster from a local waste management company.
- Check Local Regulations: Before disposing of the debris, you should check your local regulations regarding waste disposal. Some areas have specific rules and regulations regarding the disposal of construction debris.
- Recycle the Debris: If possible, you should try to recycle the debris. Recycling is an eco-friendly way to dispose of the debris. You can recycle wood, metal, and plastic debris.
- Clean Up the Area: After disposing of the debris, you should clean up the area. This will ensure that the area is safe and free of debris. You can use a broom and dustpan to clean up the area.
By following these steps, you can handle and dispose of the debris from your dismantled shed in a safe and efficient manner.
Recycling and Repurposing Materials
When dismantling a shed, it’s essential to consider recycling and repurposing materials. This is not only environmentally friendly but also cost-effective. Here are some steps to recycle and repurpose materials:
Salvage Materials
Before demolishing the shed, it’s important to identify materials that can be salvaged. Salvaging materials can save you money and reduce waste. For example, if the shed has windows, doors, or roofing materials in good condition, you can salvage and reuse them in other projects.
Recycle Lumber
Lumber is a common material used in shed construction. Instead of throwing away the lumber, consider recycling it. Recycling lumber is an excellent way to reduce waste and conserve natural resources. You can use recycled lumber for other projects such as furniture or home decor.
Repurpose Materials
Repurposing materials is an excellent way to give old materials a new life. For example, if the shed has metal roofing materials, you can repurpose them into garden planters or raised garden beds. You can also use old lumber to create a compost bin or raised garden beds.
Recycled Materials
When purchasing materials for your next project, consider using recycled materials. Recycled materials are environmentally friendly and cost-effective. For example, you can use recycled plastic lumber for decking or recycled glass for countertops.
In conclusion, recycling and repurposing materials is an excellent way to reduce waste and conserve natural resources. Salvaging materials, recycling lumber, repurposing materials, and using recycled materials are all great ways to make your shed dismantling project eco-friendly.
Final Steps and Clean Up
Once you have dismantled your shed, it’s time to clean up the site and dispose of any waste materials. Here are the final steps to ensure that your site is clean and safe:
Sort and Store Salvageable Materials
Before disposing of any waste materials, it’s important to sort through the debris and salvage any materials that can be reused or recycled. This includes items such as shelving, doors, and windows. You can store these items in a safe place for future use or sell them to someone who may need them.
Dispose of Waste Materials
Once you have sorted through the debris, it’s time to dispose of any waste materials. This includes broken or damaged wood, roofing materials, and any other debris that cannot be salvaged. You can dispose of these materials by taking them to a landfill or hiring a waste removal company to do it for you.
Clean Up the Site
After disposing of the waste materials, it’s important to clean up the site to ensure that it is safe and free from any hazards. This includes removing any nails or screws that may be left behind, leveling the ground, and filling any holes or depressions. You can also install a fire pit or other outdoor feature to make use of the space.
Consider Rebuilding
If you are planning to rebuild a shed in the same location, it’s important to prepare the site properly. This includes leveling the ground, installing a proper foundation, and ensuring that the site is free from any hazards. You can also consider installing shelving or other storage solutions to make the most of your new shed.
Frequently Asked Questions
What are the essential tools needed to dismantle a shed?
To dismantle a shed, you will need a set of basic tools such as a hammer, screwdriver, pliers, saw, ladder, and gloves. You may also need a drill, pry bar, and reciprocating saw depending on the type of shed you have.
Is it safe to dismantle a shed without professional help?
Yes, it is safe to dismantle a shed without professional help as long as you follow the proper safety precautions and have the necessary tools. However, if you are not comfortable with DIY projects or have a large shed, it may be best to hire a professional.
What are the steps to follow when dismantling a shed?
The steps to follow when dismantling a shed include removing the roof, doors, and windows, then disassembling the walls and floor. It is important to label all parts and keep them organized for easy reassembly. For a more detailed guide, check out this step-by-step guide.
How long does it take to dismantle a shed?
The time it takes to dismantle a shed depends on the size and complexity of the shed, as well as your level of experience. It can take anywhere from a few hours to a full day or more.
What are the safety precautions to take when dismantling a shed?
To ensure your safety, it is important to wear protective gear such as gloves, safety glasses, and sturdy shoes. Use a ladder or scaffolding to reach high areas, and make sure the shed is stable and secure before starting. Also, be careful when handling sharp or heavy objects.
Can I reuse the materials after dismantling a shed?
Yes, you can reuse the materials after dismantling a shed. The wood, metal, and other materials can be repurposed for other projects or recycled. Just make sure to properly store and label the materials for future use.


Leave a Reply