Building a paver patio on a sloped yard can be a challenging task, but with the right planning and execution, it can be a rewarding DIY project. A well-built paver patio can transform your backyard into a beautiful and functional outdoor living space that you can enjoy for years to come.
In this article, we will guide you through the process of building a paver patio on a sloped yard, from planning and preparation to laying the pavers and finishing touches.
Before you start building your paver patio, it is important to understand the challenges of working with a sloped yard. The main challenge is to create a level surface for the patio while ensuring proper drainage to prevent water from pooling on the surface.
To achieve this, you will need to build a retaining wall to hold back the soil and create a level base for the patio. You will also need to take into account the slope of the yard when planning the layout and design of the patio.
Key Takeaways
- Building a paver patio on a sloped yard requires careful planning and execution.
- The main challenge is to create a level surface while ensuring proper drainage.
- To achieve this, you will need to build a retaining wall and take into account the slope of the yard when planning the layout and design of the patio.
Planning Your Paver Patio
When planning your paver patio on a sloped yard, there are several factors to consider. This section will cover the key steps to take when planning your patio, including choosing the location, determining patio size, designing the layout, and estimating cost.
Choosing the Location
The first step in planning your paver patio is to choose the location. Consider the following factors when selecting the best location for your patio:
- Accessibility: Choose a location that is easily accessible from your home and other outdoor areas.
- Sun exposure: Determine the amount of sunlight the area receives throughout the day to ensure it is suitable for your needs.
- Drainage: Ensure the location has proper drainage to prevent water from pooling on the patio.
- Slope: Choose a location that is relatively flat, or one that can be easily leveled.
Determining Patio Size
Once you have chosen the location, the next step is to determine the size of your patio. Consider the following factors when determining the size:
- Functionality: Determine the primary use of your patio and ensure it is large enough to accommodate your needs.
- Furniture: Consider the size and number of pieces of furniture you plan to place on the patio.
- Walkways: Leave enough space for walkways around the patio.
Designing the Layout
After determining the size, the next step is to design the layout of your patio. Consider the following factors when designing the layout:
- Shape: Choose a shape that complements your home and outdoor landscape.
- Pattern: Select a pattern that complements the shape of your patio and the surrounding landscape.
- Edge: Choose an edge treatment that complements the design of your patio and the surrounding landscape.
Estimating Cost
Finally, estimate the cost of your paver patio. Consider the following factors when estimating the cost:
- Materials: Determine the cost of the pavers, edging, and other materials needed for your patio.
- Labor: Estimate the cost of labor if you plan to hire a professional to install your patio.
- Tools: Determine the cost of any tools you may need to rent or purchase for the installation.
By following these steps, you can plan your paver patio with confidence and create a beautiful outdoor space to enjoy for years to come.
Understanding the Challenges of a Sloped Yard
Building a paver patio on a sloped yard can be a challenging task. Before you begin, it’s important to understand the unique challenges that come with working on a sloped surface. Here are some of the challenges you may encounter:
Dealing with Drainage Issues
One of the biggest challenges of building a patio on a sloped yard is dealing with drainage issues. If your yard slopes towards your home, you may have to deal with water pooling around your foundation. This can lead to water damage, mold, and other issues. To avoid this, it’s important to ensure that your patio is properly graded and sloped away from your home.
Adjusting for Steep Slope
If your yard has a steep slope, you may need to make some adjustments to your patio design. For example, you may need to build a retaining wall to level out the area where you want to place your patio. You may also need to consider adding steps or a ramp to make your patio accessible.
Working with Terraced Patios
Terraced patios are a great option for sloping yards. By building a series of terraces, you can create a flat surface for your patio while also adding visual interest to your yard. However, building a terraced patio can be more complicated than building a traditional patio. You will need to ensure that each terrace is properly graded and that there is adequate drainage between each level.
In summary, building a paver patio on a sloped yard comes with its own unique set of challenges. By understanding these challenges and taking the necessary steps to address them, you can create a beautiful and functional patio that will enhance your outdoor living space.
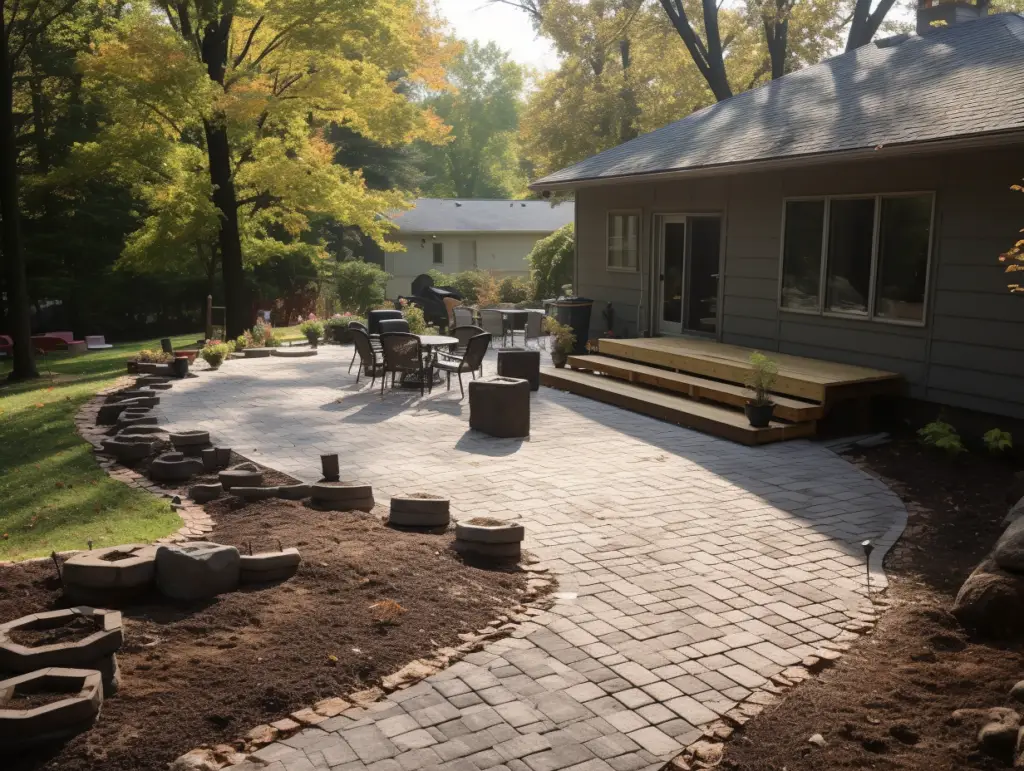
Preparation of the Site
Before starting the construction of a paver patio on a sloped yard, it is essential to prepare the site properly. This section will outline the steps required to prepare the site.
Marking the Perimeter
The first step in preparing the site is to mark the perimeter of the patio. This can be done using spray paint or chalk line. Once the perimeter is marked, use a string line and line level to ensure that the perimeter is level. This will help to ensure that the patio is level and stable.
Excavating the Soil
After marking the perimeter, the next step is to excavate the soil. This can be done using a shovel or spade. The depth of the excavation will depend on the desired height of the patio. It is recommended to excavate at least 6 inches of soil to ensure that the patio is stable.
Grading the Surface
Once the soil is excavated, the surface needs to be graded. This can be done using a shovel or spade. The goal is to create a slight slope away from the house to ensure proper drainage. A slope of 1/4 inch per foot is recommended. Use a string line and line level to ensure that the surface is graded correctly.
In summary, preparing the site is an essential step in building a paver patio on a sloped yard. Marking the perimeter, excavating the soil, and grading the surface are the three main steps required to prepare the site. By following these steps, you can ensure that your patio is level, stable, and properly drained.
Building the Base
When building a paver patio on a sloped yard, it is essential to start by building a solid base. The base provides a level surface for the pavers and ensures the patio is stable and long-lasting. Here are the steps to build a base for a paver patio on a sloped yard.
Laying the Gravel
The first step is to excavate the area where you want to build the patio. Once you have excavated the area, you need to lay a layer of gravel on the bottom. The gravel provides a stable base for the patio and ensures proper drainage. It is essential to use the right type of gravel for drainage. You can use a mix of different sizes of gravel to ensure proper drainage.
Leveling the Base
After laying the gravel, you need to level the base. You can use a level to ensure the base is level. It is essential to ensure that the base is level to avoid any problems with the patio in the future. You can use a hand tamper or a mechanical tamper to ensure the base is compact and level.
Adding the Sand Layer
Once the base is level, you need to add a layer of sand. The sand layer provides a cushion for the pavers and ensures they are level. You can use a screed to ensure the sand layer is level. It is essential to use the right type of sand for the sand layer. You can use a mix of different types of sand to ensure the sand layer is stable.
In conclusion, building a base is an essential step when building a paver patio on a sloped yard. The base provides a level surface for the pavers and ensures the patio is stable and long-lasting. By following the steps above, you can ensure that your base is solid and level, and your patio will be a beautiful addition to your yard.
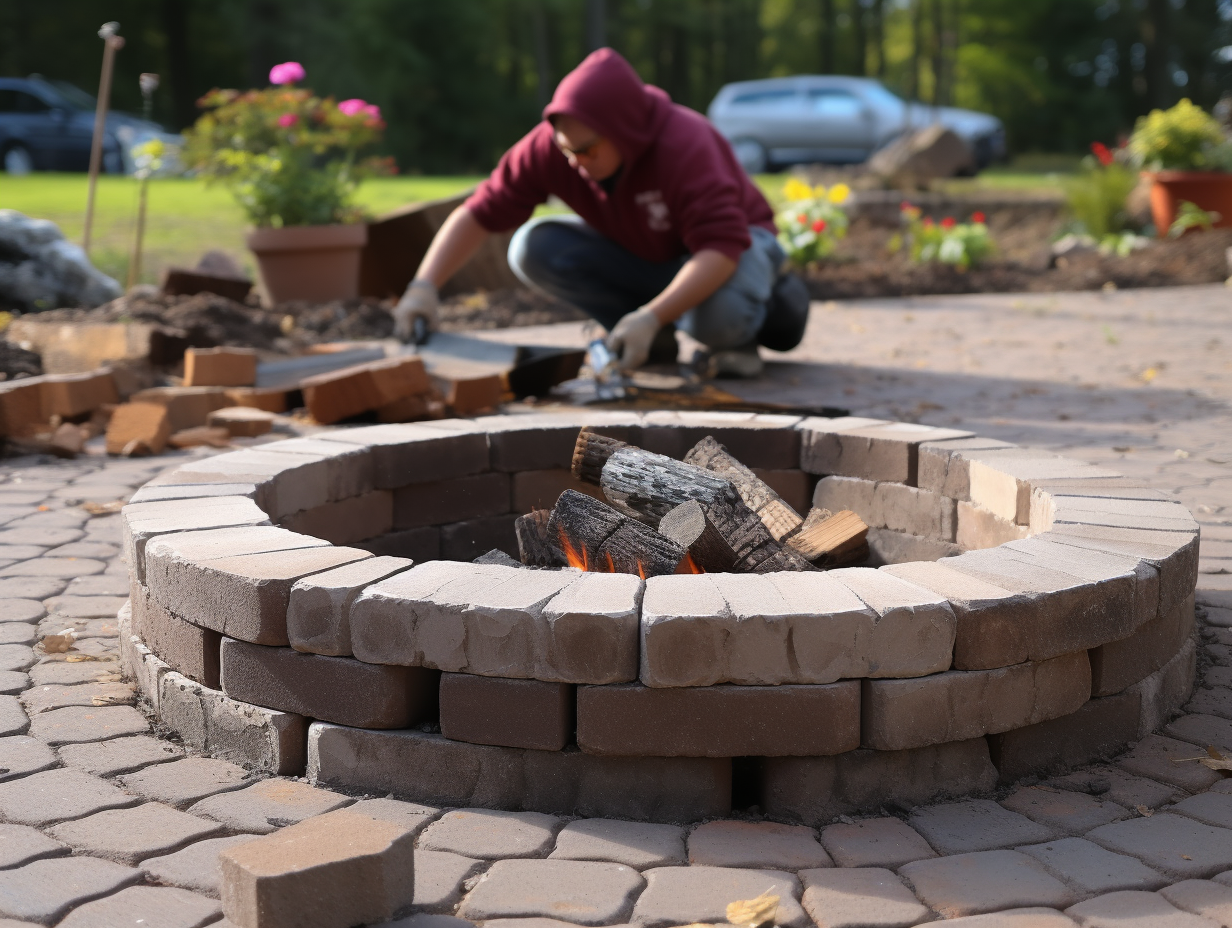
Constructing the Retaining Wall
When building a paver patio on a sloped yard, constructing a retaining wall is necessary to prevent soil erosion and ensure the stability of the patio. Here are the steps to construct a retaining wall for your paver patio:
Choosing the Materials
The first step in constructing a retaining wall is to choose the right materials. The most common materials used for retaining walls are bricks, stones, and concrete blocks. When choosing the materials, it is important to consider the slope of your yard and the height of the wall. For a sloped yard, it is recommended to use interlocking blocks or stones that can be stacked to form the wall. These materials provide better stability and can withstand the pressure of the soil.
Setting the Foundation
The foundation is the most important part of the retaining wall. It provides the stability and support needed to hold the wall in place. To set the foundation, you need to dig a trench along the slope of your yard. The width and depth of the trench should be equal to the width and height of the wall. Once the trench is dug, you need to fill it with gravel or crushed stone to create a base for the wall. The base should be level and compacted to ensure the stability of the wall.
Building the Wall
After setting the foundation, you can start building the wall. Begin by placing the first row of blocks or stones on the base. Make sure the blocks or stones are level and flush with each other. Continue building the wall by adding more rows of blocks or stones. As you build the wall, make sure to backfill the soil behind the wall to provide additional support and stability. Use a level to ensure the wall is straight and level as you build it.
In conclusion, constructing a retaining wall is an essential step in building a paver patio on a sloped yard. By choosing the right materials, setting the foundation, and building the wall correctly, you can ensure the stability and longevity of your paver patio.
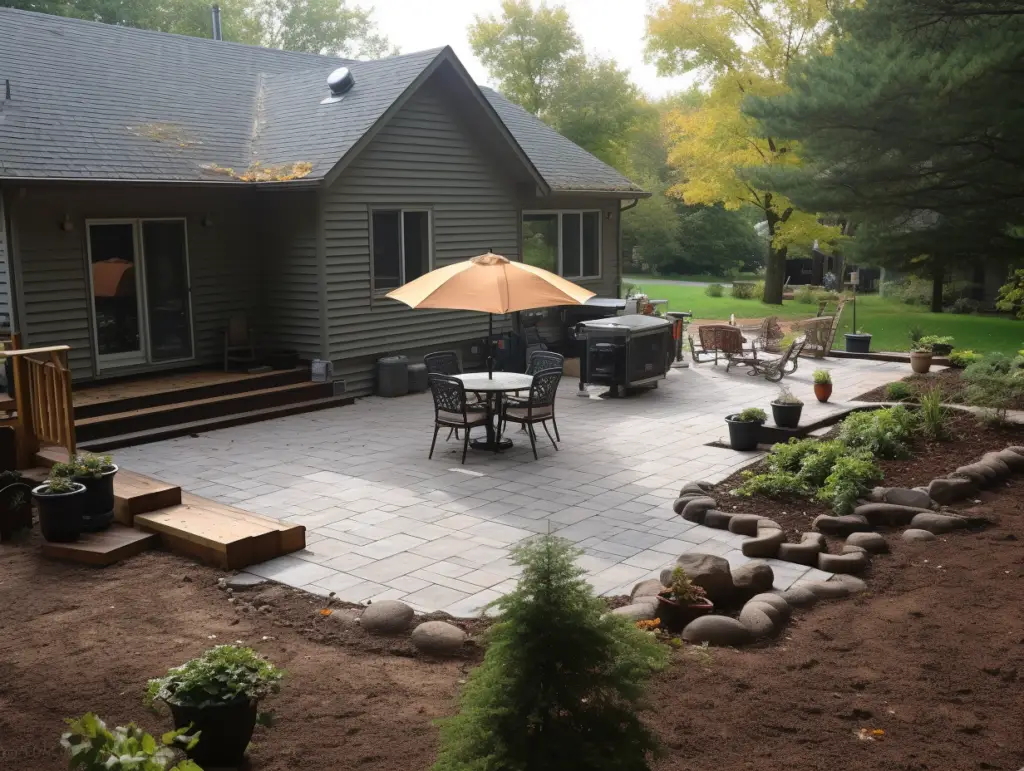
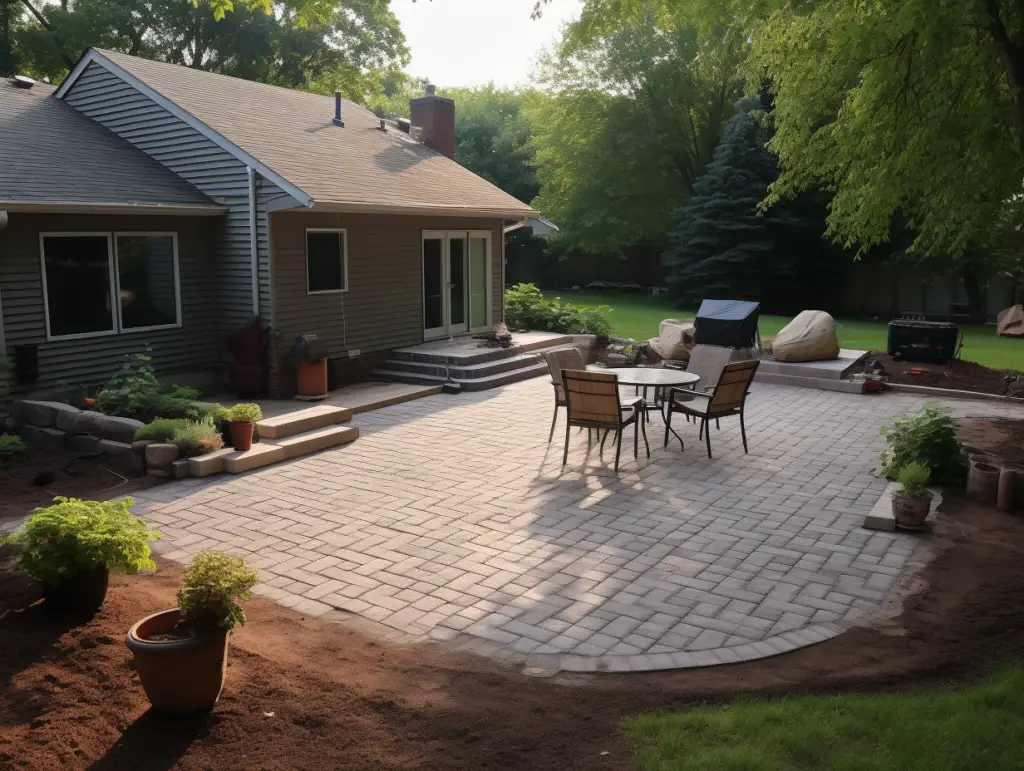
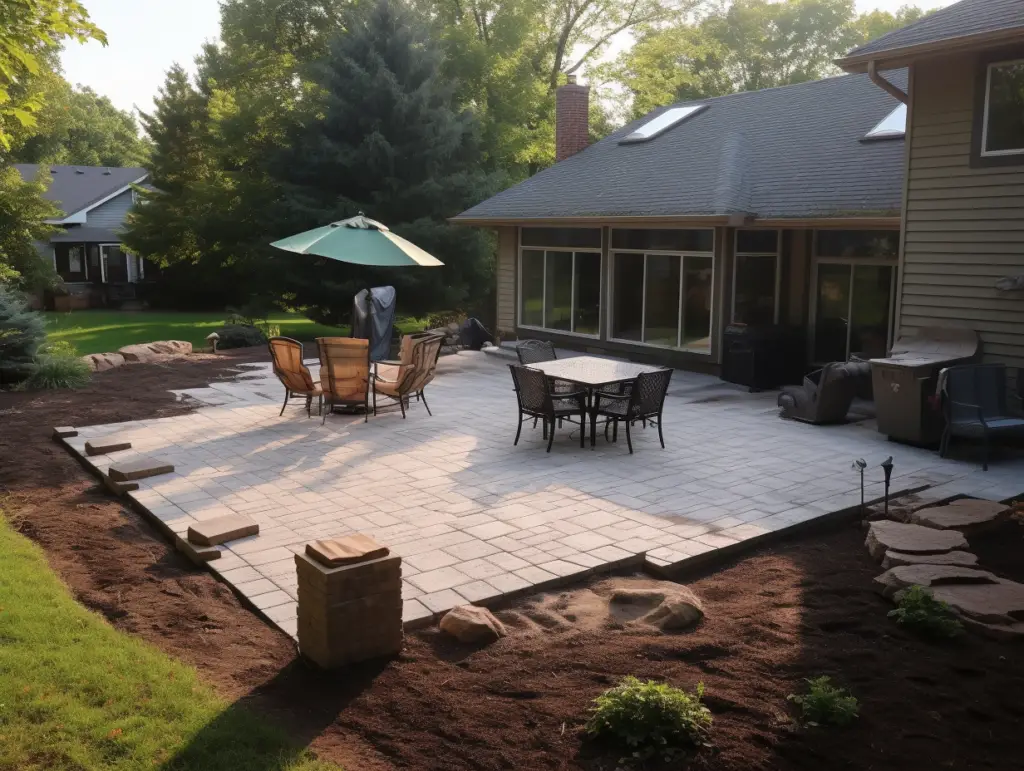
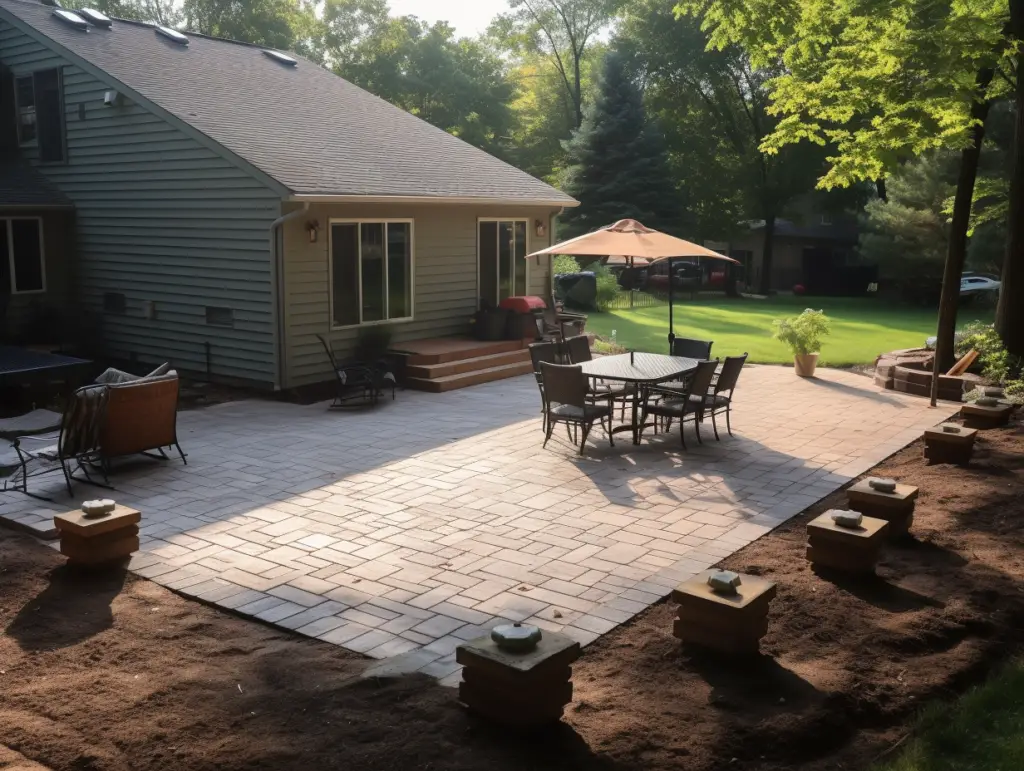
Laying the Pavers
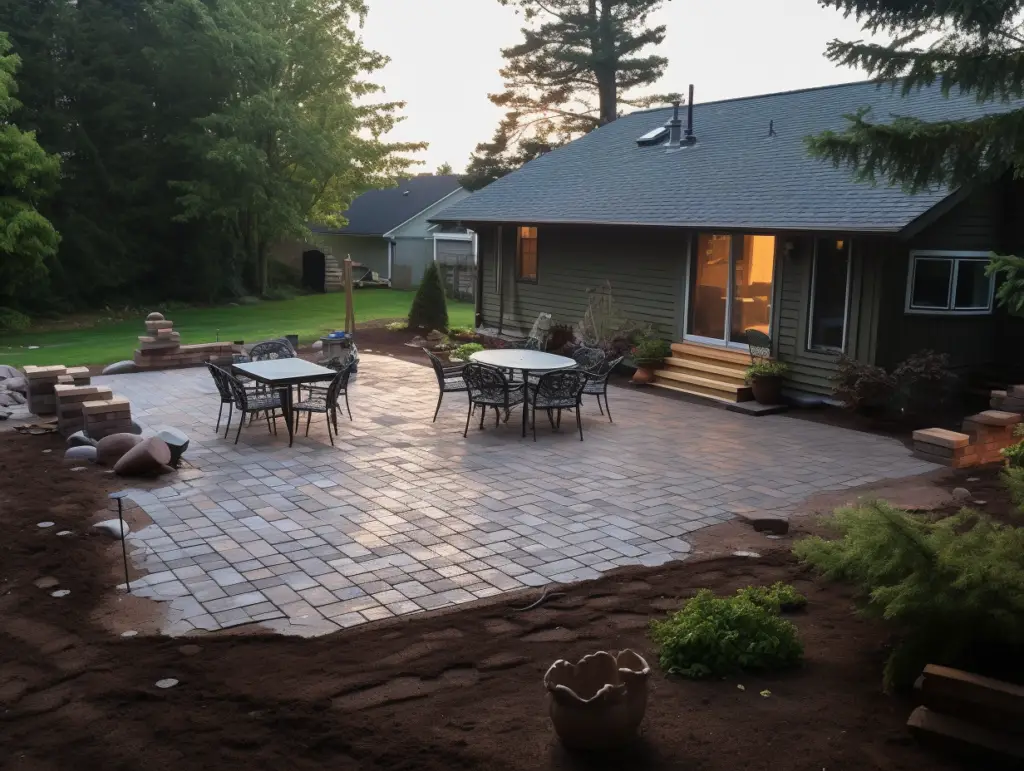
Laying the pavers is the most important step in building a paver patio. This section will cover the three main sub-sections: Choosing the Type of Paver, Setting the Pavers, and Filling the Joints.
Choosing the Type of Paver
Choosing the right type of paver is crucial to the success of your patio project. There are several factors to consider when choosing the type of paver, including:
- The style and color of the paver
- The size and shape of the paver
- The durability and strength of the paver
Brick pavers are a popular choice for patios because of their classic look and durability. Paver stones are also a good choice because they come in a variety of colors and shapes, giving you more design options.
Setting the Pavers
Once you have chosen the type of paver, it’s time to set them in place. Here are the steps to follow:
- Start at one corner of the patio and work your way across.
- Lay the pavers in the pattern you have chosen.
- Make sure the pavers are level with each other and the ground.
- Use a rubber mallet to tap the pavers into place.
- Check the level frequently to ensure the patio is level.
Filling the Joints
The final step in laying the pavers is filling the joints. Here’s how to do it:
- Sweep sand into the joints between the pavers.
- Use a broom to sweep the sand into all the joints.
- Use a plate compactor to compact the sand into the joints.
- Sweep more sand into the joints and repeat the compaction process until all the joints are filled.
Filling the joints is important because it keeps the pavers in place and prevents weeds from growing between them. It also gives the patio a finished look.
In conclusion, laying the pavers is a crucial step in building a paver patio. Choosing the right type of paver, setting the pavers, and filling the joints are all important steps to follow to ensure a successful project.
Finishing Touches
Once you have completed building your paver patio, it’s time to add some finishing touches to make it look even better. Here are a few things you can do to add some extra flair to your patio:
Adding Lighting
Adding lighting to your paver patio can make it look amazing, especially in the evenings. You can use various kinds of lighting, including string lights, lanterns, and spotlights. String lights are perfect for creating a warm and cozy atmosphere, while spotlights can be used to highlight specific areas of your patio. Lanterns can be used to add a touch of elegance to your patio.
When installing lighting, make sure to choose fixtures that are weather-resistant and safe for outdoor use. You can also install a timer or motion sensor to save energy and make it easy to turn on and off.
Sealing the Patio
Sealing your paver patio is an essential step in protecting it from weather damage and stains. Sealing can also enhance the color of the pavers and make them look more vibrant. Before sealing, make sure your patio is clean and dry. You can use a pressure washer or a hose to clean it, and then let it dry for at least 24 hours.
When choosing a sealant, make sure to select one that is specifically designed for paver patios. You can choose between a glossy or a matte finish, depending on your preference. Apply the sealant evenly using a roller or a sprayer, and let it dry for at least 24 hours before walking on it.
By adding lighting and sealing your paver patio, you can make it look even more beautiful and protect it from damage. These finishing touches are easy to do and can make a big difference in the appearance and longevity of your patio.
Maintaining Your Paver Patio
Once you’ve built your paver patio, it’s important to maintain it to ensure it lasts for years to come. Here are some tips for maintaining your paver patio.
Dealing with Drainage
One of the most important aspects of maintaining your paver patio is ensuring proper drainage. If water is allowed to accumulate on your patio, it can cause damage to the pavers and the foundation beneath them. To prevent this, make sure your patio has proper drainage by:
- Sloping the patio away from your home or other structures
- Installing a drainage system, such as a French drain or catch basin
- Using permeable pavers that allow water to seep through
Keeping Pavers Clean
Keeping your pavers clean is another important aspect of maintaining your patio. Dirt, grime, and debris can build up on your pavers, making them look dull and dirty. To keep them clean, follow these steps:
- Sweep your patio regularly to remove debris
- Use a pressure washer to remove stubborn stains
- Apply a paver cleaner to remove tough stains
Sealing the Pavers
Sealing your pavers is another important step in maintaining your patio. Sealing helps protect your pavers from water damage, stains, and fading. To seal your pavers, follow these steps:
- Clean your pavers thoroughly
- Apply a paver sealer using a roller or sprayer
- Allow the sealer to dry completely before using your patio
By following these tips, you can keep your paver patio looking great for years to come. Paver patios are durable and low-maintenance, but proper maintenance is key to ensuring they last.
Frequently Asked Questions
How do you lay pavers on a sloped yard?
Laying pavers on a sloped yard requires careful planning and preparation. Start by marking the area where you want to install the patio. Then, dig out the slope to create a level base for the patio. Next, install a layer of gravel and sand to create a stable base for the pavers. Finally, lay the pavers on top of the sand, making sure they are level and evenly spaced.
What is the maximum slope for a paver patio?
The maximum slope for a paver patio depends on the type of pavers you are using and the design of the patio. In general, a slope of 1 inch per foot is a good rule of thumb. However, you should consult with a professional to determine the maximum slope for your specific project.
How do you build a paver patio without digging?
Building a paver patio without digging requires a bit more work, but it is possible. Start by creating a level base for the patio using a layer of gravel and sand. Next, lay down a weed barrier to prevent weeds from growing up through the pavers. Finally, install the pavers on top of the sand, making sure they are level and evenly spaced.
Can you have a patio on a slope?
Yes, you can have a patio on a slope. However, it requires careful planning and preparation to ensure that the patio is level and stable. You may need to create a retaining wall or use other methods to level the ground before installing the patio.
How to level ground for pavers on a slope?
To level ground for pavers on a slope, start by marking the area where you want to install the patio. Then, dig out the slope to create a level base for the patio. Next, install a layer of gravel and sand to create a stable base for the pavers. Finally, lay the pavers on top of the sand, making sure they are level and evenly spaced.
How to lay stepping pavers on a slope?
To lay stepping pavers on a slope, start by marking the area where you want to install the pavers. Then, dig out the slope to create a level base for the pavers. Next, install a layer of gravel and sand to create a stable base for the pavers. Finally, lay the pavers on top of the sand, making sure they are level and evenly spaced. Use a level to ensure that each paver is level and adjust the sand as needed.


Leave a Reply